Push identical code into two git remote repositories
We have configured a project in IntelliJ as well as a remote Git repository, where we maintain the project - we commit and push our code to that repository. Now we would like to configure another Git repository, to which we could commit and push the same code. This repository could be, for example, used to overview the code without requiring an access to the original repository or having an option to change the code in that repository. In this article we'll explain how we can achieve this by using IntelliJ.
Table of Contents
1. Adding a second remote repository
Let’s assume we’re working on the code from repository1, already imported to IntelliJ.
Add another remote repository, we’ll call it repository2.
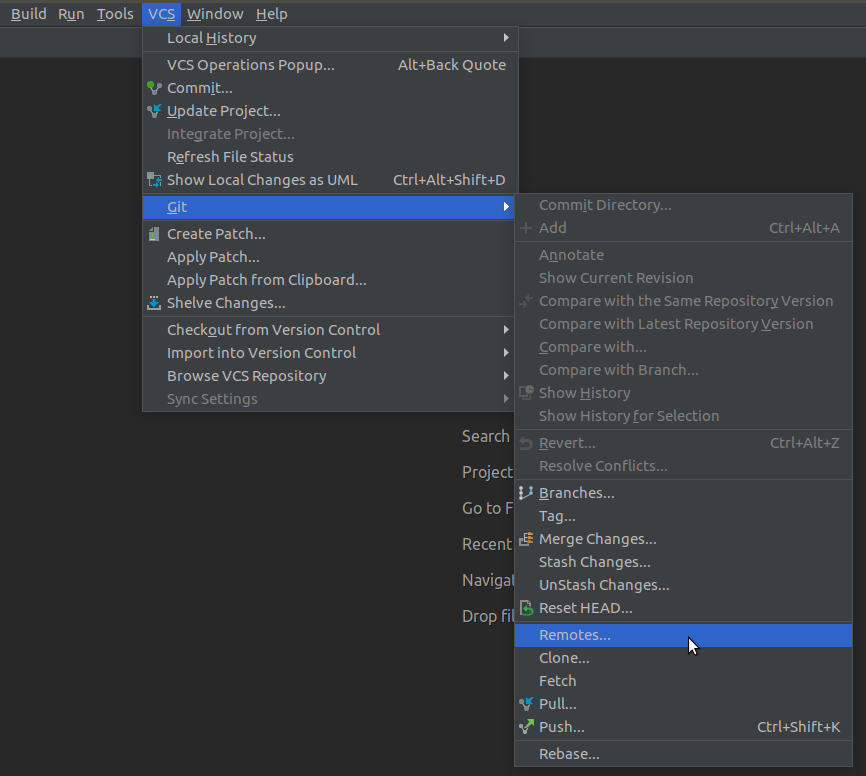
- In the menu, go to VCS→ Git → Remotes…

- Copy the link of the repository2 by going to your Git, selecting your project, clicking on Clone, and copying the URL.

- Click on a plus, name the remote (eg. origin-copy) and provide the link to the repository2. Click OK.

- You should now see the new repository – repository2 added to the list of Git remotes.

- In the menu, go to VSC → Git → Fetch. This way you make sure you have access to all the repository2 branches.
1.1. Alternative: using the terminal
Move to your project folder and type the following:
git remote add origin-copy git@your.git.repo.example.com:user/repository2.git
2. Git commit and push
Push the current repository1 branch to repository2 branch:
- Press Ctrl+shift+k (or go to VSC → Git → Push…)
- Select the repository you’d like to push your code to. For example, if your repository1 is named origin and repository2 is named origin-copy, select origin-copy. After that you can also select the branch you’d like to push your code to by clicking on the name of the branch (it will autocomplete the name of the branch as you type it in). You can also type in a name of a new branch, which will be then automatically created in the repository2.

- When you’re done with selecting the repository (we named repository2 origin-copy) and the branch we want to push to (in our case develop) you can press the button Push.

2.1. Alternative: using the terminal
In the CLI type:
git push -u origin-copy develop
3. Creating a new remote repository
In case the repository2 does not exist yet, make sure you create a new project in GitLab by going to https://gitlab.yourdomain.com/projects/new (note: don't forget to substitute yourdomain with the name of your domain).
You can also follow the step by step visual guide below:
-
Go to your GitLab (in our case the URL is your.git.repo.example.com) and click on New project.

- Write a name of your project in Project name field and click on Create project button.

- Your project will be created and you will be redirected to the project repository details view.

4. Summary
In this article we learned how to push identical code to two different repositories in GitLab by using IntelliJ, following step by step instructions.
To find out how to delete or revert a bad remote commit, follow the article How to revert a git commit
Follow this to learn How to change remote git repository


